
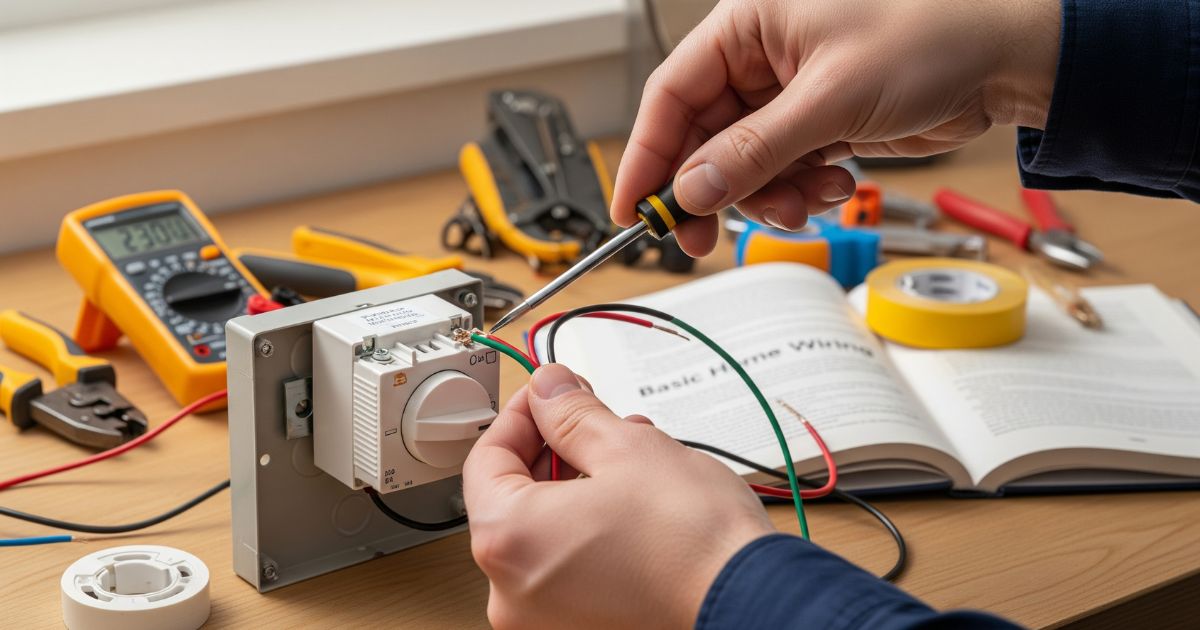
A fan regulator is a small yet essential device that controls the speed of your ceiling fan. Whether you’re setting up a new fan or replacing an old regulator, understanding how to connect a fan regulator correctly ensures safe operation and optimal performance. Many homeowners hesitate to handle electrical work themselves, but with the right guidance and safety measures, installing a fan regulator can be straightforward.
When choosing a regulator, it’s important to source it from reliable fan regulator manufacturers or a trusted fan regulator company to ensure quality and durability. This guide will walk you through the entire process of connecting a fan regulator, from choosing the right type to testing your installation. By following these steps carefully, you’ll gain confidence in handling basic electrical work while ensuring your fan operates smoothly and safely.
Types of Fan Regulator Switches
Before starting the installation, it’s important to understand the different fan regulator switch type options available in the market. Each type has distinct features and wiring requirements.
Rotary or Step-Type Regulators
These traditional regulators use a rotating knob to adjust fan speed. They typically offer 4-5 speed settings and work by adding resistance to the circuit. While they’re affordable and widely available, they can generate heat during operation and may wear out faster than modern alternatives.
Electronic Regulators
Electronic fan regulators use semiconductor technology to control fan speed more efficiently. They produce less heat, offer smoother speed transitions, and consume less power. Products like the 1 M 7 Diamond Modular Ceiling Fan Regulator use advanced circuitry that extends fan life and reduces energy waste.
Modular Touch Regulators
Modern modular regulators feature touch-sensitive panels or buttons instead of rotating knobs. They provide precise speed control and add a contemporary aesthetic to your walls. The 1 M 7 Dio Modular Regulator offers sleek designs that complement modern interiors while delivering reliable performance.
Smart Digital Regulators
The most advanced option, smart regulators can be controlled remotely via smartphone apps or voice assistants. They often include features like timer settings, energy monitoring, and integration with home automation systems.
Understanding your fan regulator switch type helps you identify the correct terminals and wiring configuration during installation.
Tools and Materials Needed
Gathering the right tools before starting makes the installation process smoother and safer. Here’s what you’ll need:
Basic Tools:
- Flathead and Phillips screwdimmers
- Wire stripper or cutter
- Voltage tester or multimeter
- Pliers (needle-nose preferred)
- Electrical tape
- Small torch or flashlight
Safety Equipment:
- Insulated gloves
- Safety glasses
- Non-conductive ladder or step stool
- Insulated screwdrivers
Materials:
- New fan regulator (appropriate for your fan wattage)
- Wire connectors or terminals (if not included)
- Mounting screws (usually provided with the regulator)
- Modular box (if upgrading to modular type)
Having everything ready before you begin prevents unnecessary trips and keeps you focused on the task.
Safety Precautions Before Starting
Electrical work requires strict adherence to safety protocols. Never skip these critical steps:
Turn Off Main Power Supply
Locate your home’s circuit breaker panel and switch off the breaker controlling the fan circuit. Simply turning off the wall switch isn’t sufficient as someone might accidentally turn it back on while you’re working.
Verify Power is Off
Use a voltage tester to confirm that no electricity is flowing to the wires. Test both the existing regulator terminals and the wire connections. This simple check can prevent serious electrical shock.
Inform Household Members
Let everyone in your home know that you’re working on electrical installations. Consider placing a note on the breaker panel to prevent anyone from turning the power back on.
Work in Proper Lighting
Ensure adequate lighting in your work area. If the room is dark, use a battery-powered flashlight rather than relying on room lights that may be on the same circuit.
Check Regulator Compatibility
Verify that your new regulator matches your fan’s wattage rating. Installing an undersized regulator can cause overheating and potential fire hazards.
Step-by-Step Guide to Connect a Fan Regulator
Now that you’ve prepared properly, follow these detailed steps to install your fan regulator safely.
Step 1: Turn Off Power and Remove the Old Regulator
After switching off the circuit breaker, remove the faceplate of your existing regulator by unscrewing it. Most regulators have two screws holding the plate in place. Set aside the screws carefully as you may need them for the new installation.
Gently pull the old regulator forward to expose the wiring behind it. Take a photo of the existing connections with your phone before disconnecting anything. This visual reference can be helpful if you need to troubleshoot later.
Step 2: Identify Wiring Connections
Indian electrical systems typically use three types of wires:
- Live Wire (Phase): Usually red or brown, this carries current from the power source
- Neutral Wire: Typically black or blue, this completes the circuit
- Earth Wire: Green or green-yellow striped, providing safety grounding
Fan regulator wiring involves four connection points:
- Incoming live wire from the switchboard
- Outgoing live wire to the fan
- Neutral wire (common connection)
- Earth wire (safety ground)
Use your voltage tester one final time to confirm all wires are de-energized before touching them.
Step 3: Connect the Live Wire to the Regulator
The regulator controls fan speed by regulating the current flowing through the live wire. Identify the terminal marked “Input” or “L-In” on your new regulator. Connect the incoming live wire (from your switchboard) to this terminal.
Next, locate the terminal marked “Output,” “Load,” or “L-Out.” Connect the wire going to your fan to this terminal. These connections allow the regulator to control the current flowing to your fan motor.
If you’re installing modular products like the 1 M 7 SILVER, the terminals will be clearly labeled on the back. Loosen the terminal screws, insert the stripped wire ends (about 8-10mm of exposed wire), and tighten securely without over-torquing.
Step 4: Connect Neutral and Earth Wires
The neutral wire typically bypasses the regulator and connects directly in the electrical box using wire connectors. Join all neutral wires together: the incoming neutral, the outgoing neutral to the fan, and the regulator’s neutral connection (if applicable).
Similarly, connect all earth wires together. Even though the earth doesn’t carry current during normal operation, it provides crucial protection against electrical faults.
Wrap all wire connections with electrical tape for added insulation and security.
Step 5: Secure the Regulator and Switch Plate
Carefully push the connected regulator back into the mounting box. Ensure no wires are pinched or stressed. The regulator should fit snugly without forcing.
Align the regulator properly so that the control knob or switch faces the correct direction. Use the provided screws to secure the regulator to the box. Don’t overtighten as this can crack plastic components.
Attach the faceplate or modular frame. For modular regulators like the 1 M CROMA BLACK Modular Regulator, snap the frame into place and ensure it sits flush against the wall.
Step 6: Turn On Power and Test
Return to your breaker panel and switch the circuit back on. Test the regulator at different speed settings to ensure it’s working correctly. The fan should respond smoothly to speed adjustments without unusual noises or flickering.
If everything works properly, your installation is complete. If you notice any issues, turn off the power immediately and recheck your connections.
Common Mistakes to Avoid
Even experienced DIYers can make errors during installation. Watch out for these common pitfalls:
Reversing Input and Output Connections
Connecting wires to wrong terminals is the most frequent mistake. Always double-check that the incoming live wire connects to the input terminal and the fan wire connects to the output.
Inadequate Wire Stripping
Stripping too much insulation exposes excess bare wire that could cause short circuits. Strip only 8-10mm of insulation. Conversely, stripping too little prevents proper contact with terminals.
Ignoring Wire Capacity
Using wires that are too thin for your fan’s current rating creates fire hazards. Standard ceiling fans typically require 1.5 sq mm wires for safe operation.
Overtightening Terminal Screws
Excessive force can damage the regulator’s internal components or break wire strands. Tighten screws firmly but gently until the wire is secure.
Mixing Regulator Types
Don’t install an electronic regulator designed for induction motors with a brushless DC fan or vice versa. Always match the regulator type to your fan’s motor technology.
Troubleshooting Tips
If your fan doesn’t work correctly after installation, try these diagnostic steps:
Regulator Not Working at All
First, verify that power is reaching the circuit by checking the breaker. Test the voltage at the regulator’s input terminal. If voltage is present but the fan won’t run, check for loose connections or a faulty regulator.
Fan Speed Not Changing
If the fan runs at only one speed regardless of regulator setting, you may have bypassed the regulator accidentally by connecting the fan wire directly to the incoming live. Review your connections against the wiring diagram.
Flickering or Buzzing Sounds
These symptoms often indicate loose connections or incompatibility between the regulator and fan type. Tighten all terminals and verify that your regulator suits your fan’s technology. Older step-type regulators commonly produce humming sounds, which is normal.
Regulator Overheating
If the regulator becomes excessively hot during operation, it may be undersized for your fan’s wattage. Replace it with a higher-capacity model suitable for your fan.
Intermittent Operation
Check for damaged wires or corroded terminals in the connection box. Clean or replace as necessary.
Choosing Quality Products for Reliable Performance
The quality of your fan regulator significantly impacts both safety and longevity. At Sai Electronics India, we manufacture a wide range of fan regulators designed for Indian electrical systems and climate conditions.
Our modular series combines aesthetic appeal with robust functionality. Whether you need a basic rotary regulator or an advanced touch-based control, you’ll find suitable options in our Shop.
Before making a purchase, consider factors like your fan’s power rating, room aesthetics, and desired features.
For comprehensive guidance on choosing between different technologies, check out our article on choosing analog, digital, and smart fan regulators. Understanding these differences helps you make informed decisions that balance functionality, energy efficiency, and budget.
Conclusion
Learning how to connect fan regulator properly empowers you to handle basic electrical maintenance confidently. By following the steps outlined in this guide, using appropriate tools, and prioritizing safety, you can successfully install a fan regulator in your home.
Remember that the key to successful installation lies in careful preparation, accurate wire identification, and thorough testing. Don’t rush through any step, and never compromise on safety protocols.
If you feel uncertain about any part of the process, consulting a licensed electrician is always the wise choice. Electrical work requires respect and caution, regardless of how simple it may seem.
For more insights on fan regulators and modern electrical solutions, visit our article on how to choose the best fan regulator for your lifestyle.
Ready to upgrade your fan control system?
Visit Sai Electronics India to find premium quality regulators designed for safety, efficiency, and style. Our expert team can help you choose the perfect regulator for your needs.
