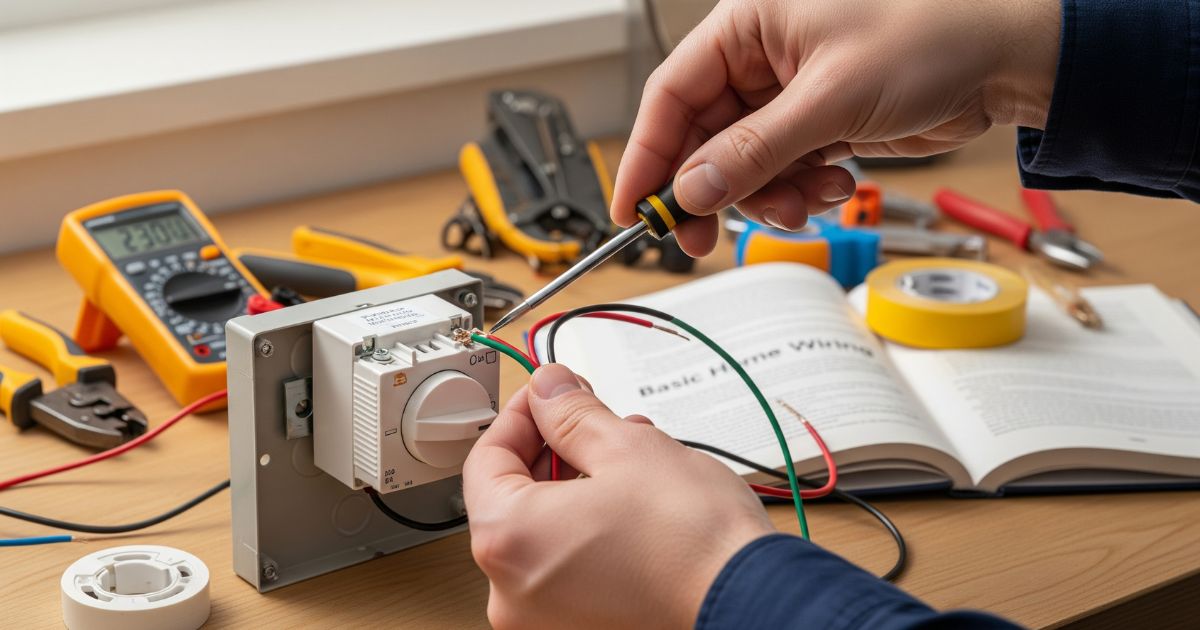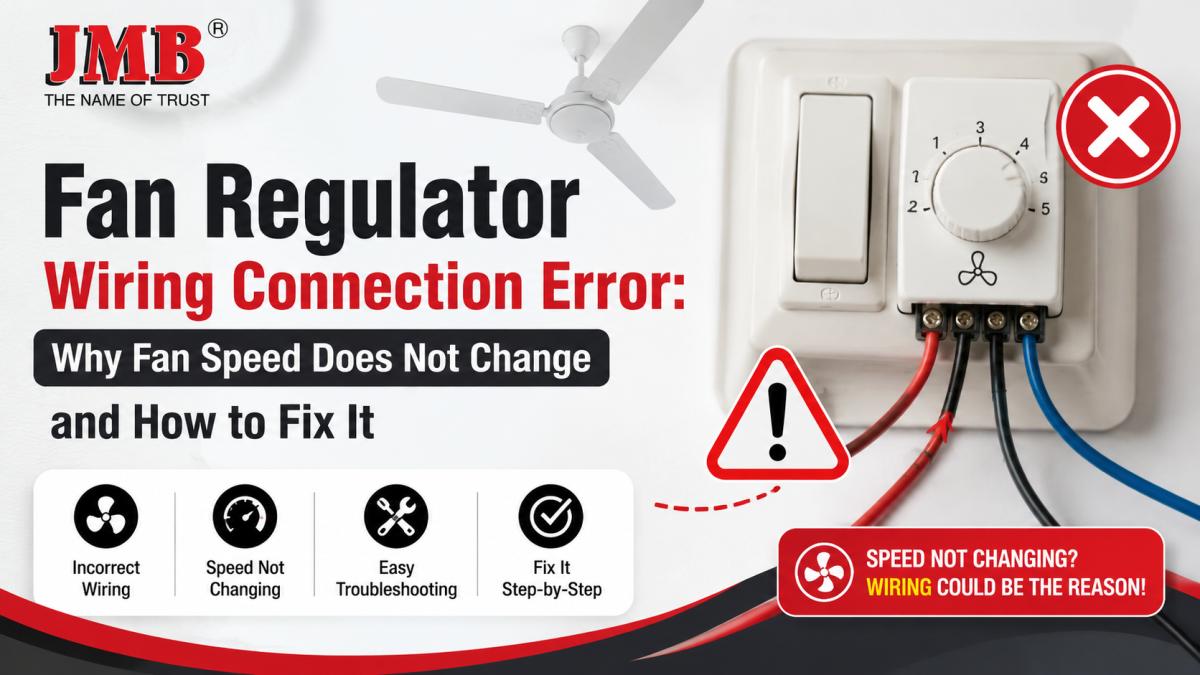
You installed a new fan regulator, turned it on, and the fan just runs at one speed regardless of how you adjust the knob or switch. No variation. No control. Frustrating? Absolutely. But before you assume the regulator is defective, the problem is almost always a fan regulator wiring connection error that you can identify and correct without replacing the unit.
This guide walks you through the most common mistakes made during regulator wiring, how to check each one, and when the issue actually points to a failed component rather than a wiring fault.
Why Does Fan Speed Stay Fixed After Installing a Regulator?
When a ceiling fan runs at a constant speed after a regulator is installed, one of these three scenarios is usually responsible:
- The line and load wires are swapped or incorrectly connected to the regulator terminals.
- A wire is making partial contact inside a terminal block, causing inconsistent control.
- The regulator itself has a capacitor fault or internal damage that prevents it from delivering stepped speed control.
Understanding which of these applies to your situation is the first step toward fixing it.
Common Fan Regulator Wiring Mistakes and How to Identify Them
1. Swapped Line and Load Wires
This is the most frequent cause of fan speed not changing after installation. Every fan speed controller has two sets of connections: an input side (line) that receives power from the mains, and an output side (load) that sends controlled power to the fan.
If these are reversed, the fan still receives power directly and runs at full speed regardless of the regulator position. The regulator effectively gets bypassed in the circuit.
How to check: Switch off the circuit and use a phase tester to identify which incoming wire carries the live phase. That wire must connect to the line input terminal of your regulator. The wire going from the regulator to the fan motor connects to the load terminal.
If you need a clear reference for this, the step-by-step fan regulator wiring guide shows exactly how line and load terminals are identified for standard modular regulators.
2. Loose Wire Connections Inside Terminal Blocks
Even if the wires are on the correct terminals, a connection that is not fully tightened creates a high-resistance point in the circuit. At high resistance, the speed control function becomes erratic or stops responding altogether. In some cases, the fan runs at full speed permanently because the loose connection is bypassing the regulator’s internal resistance components.
How to check:
- Switch off the circuit at the main board before touching any wiring.
- Press each wire gently to check whether it shifts inside the terminal block.
- Unscrew, re-insert the wire so the conductor makes full contact, and retighten firmly.
- Make sure no wire strand is folded back or making contact with an adjacent terminal.
This sounds basic, but loose connections are responsible for a significant share of speed-control failures reported after new installations.
3. Incorrect Neutral Connection
Many older switchboard installations route the neutral directly to the fan without passing through the regulator. This is correct. The regulator controls only the live (phase) wire. However, if neutral is incorrectly routed through the regulator’s terminals, the speed control circuit does not function as intended.
Check that the neutral wire from the ceiling fan connects directly to the neutral bus and not through any regulator terminal.
4. Wrong Common Terminal in Multi-Gang Switchboards
In switchboards that include both a fan switch and a regulator, a shared common terminal is often used. If the common connection is feeding the wrong terminal, the regulator may receive power without being in the active speed-control path.
Before assuming a fault, draw out or photograph your existing switchboard wiring before disconnecting anything. Reconnect each wire according to the manufacturer’s terminal diagram.
Featured Products

SWITCH 4ST Capacitor Fan Regulator
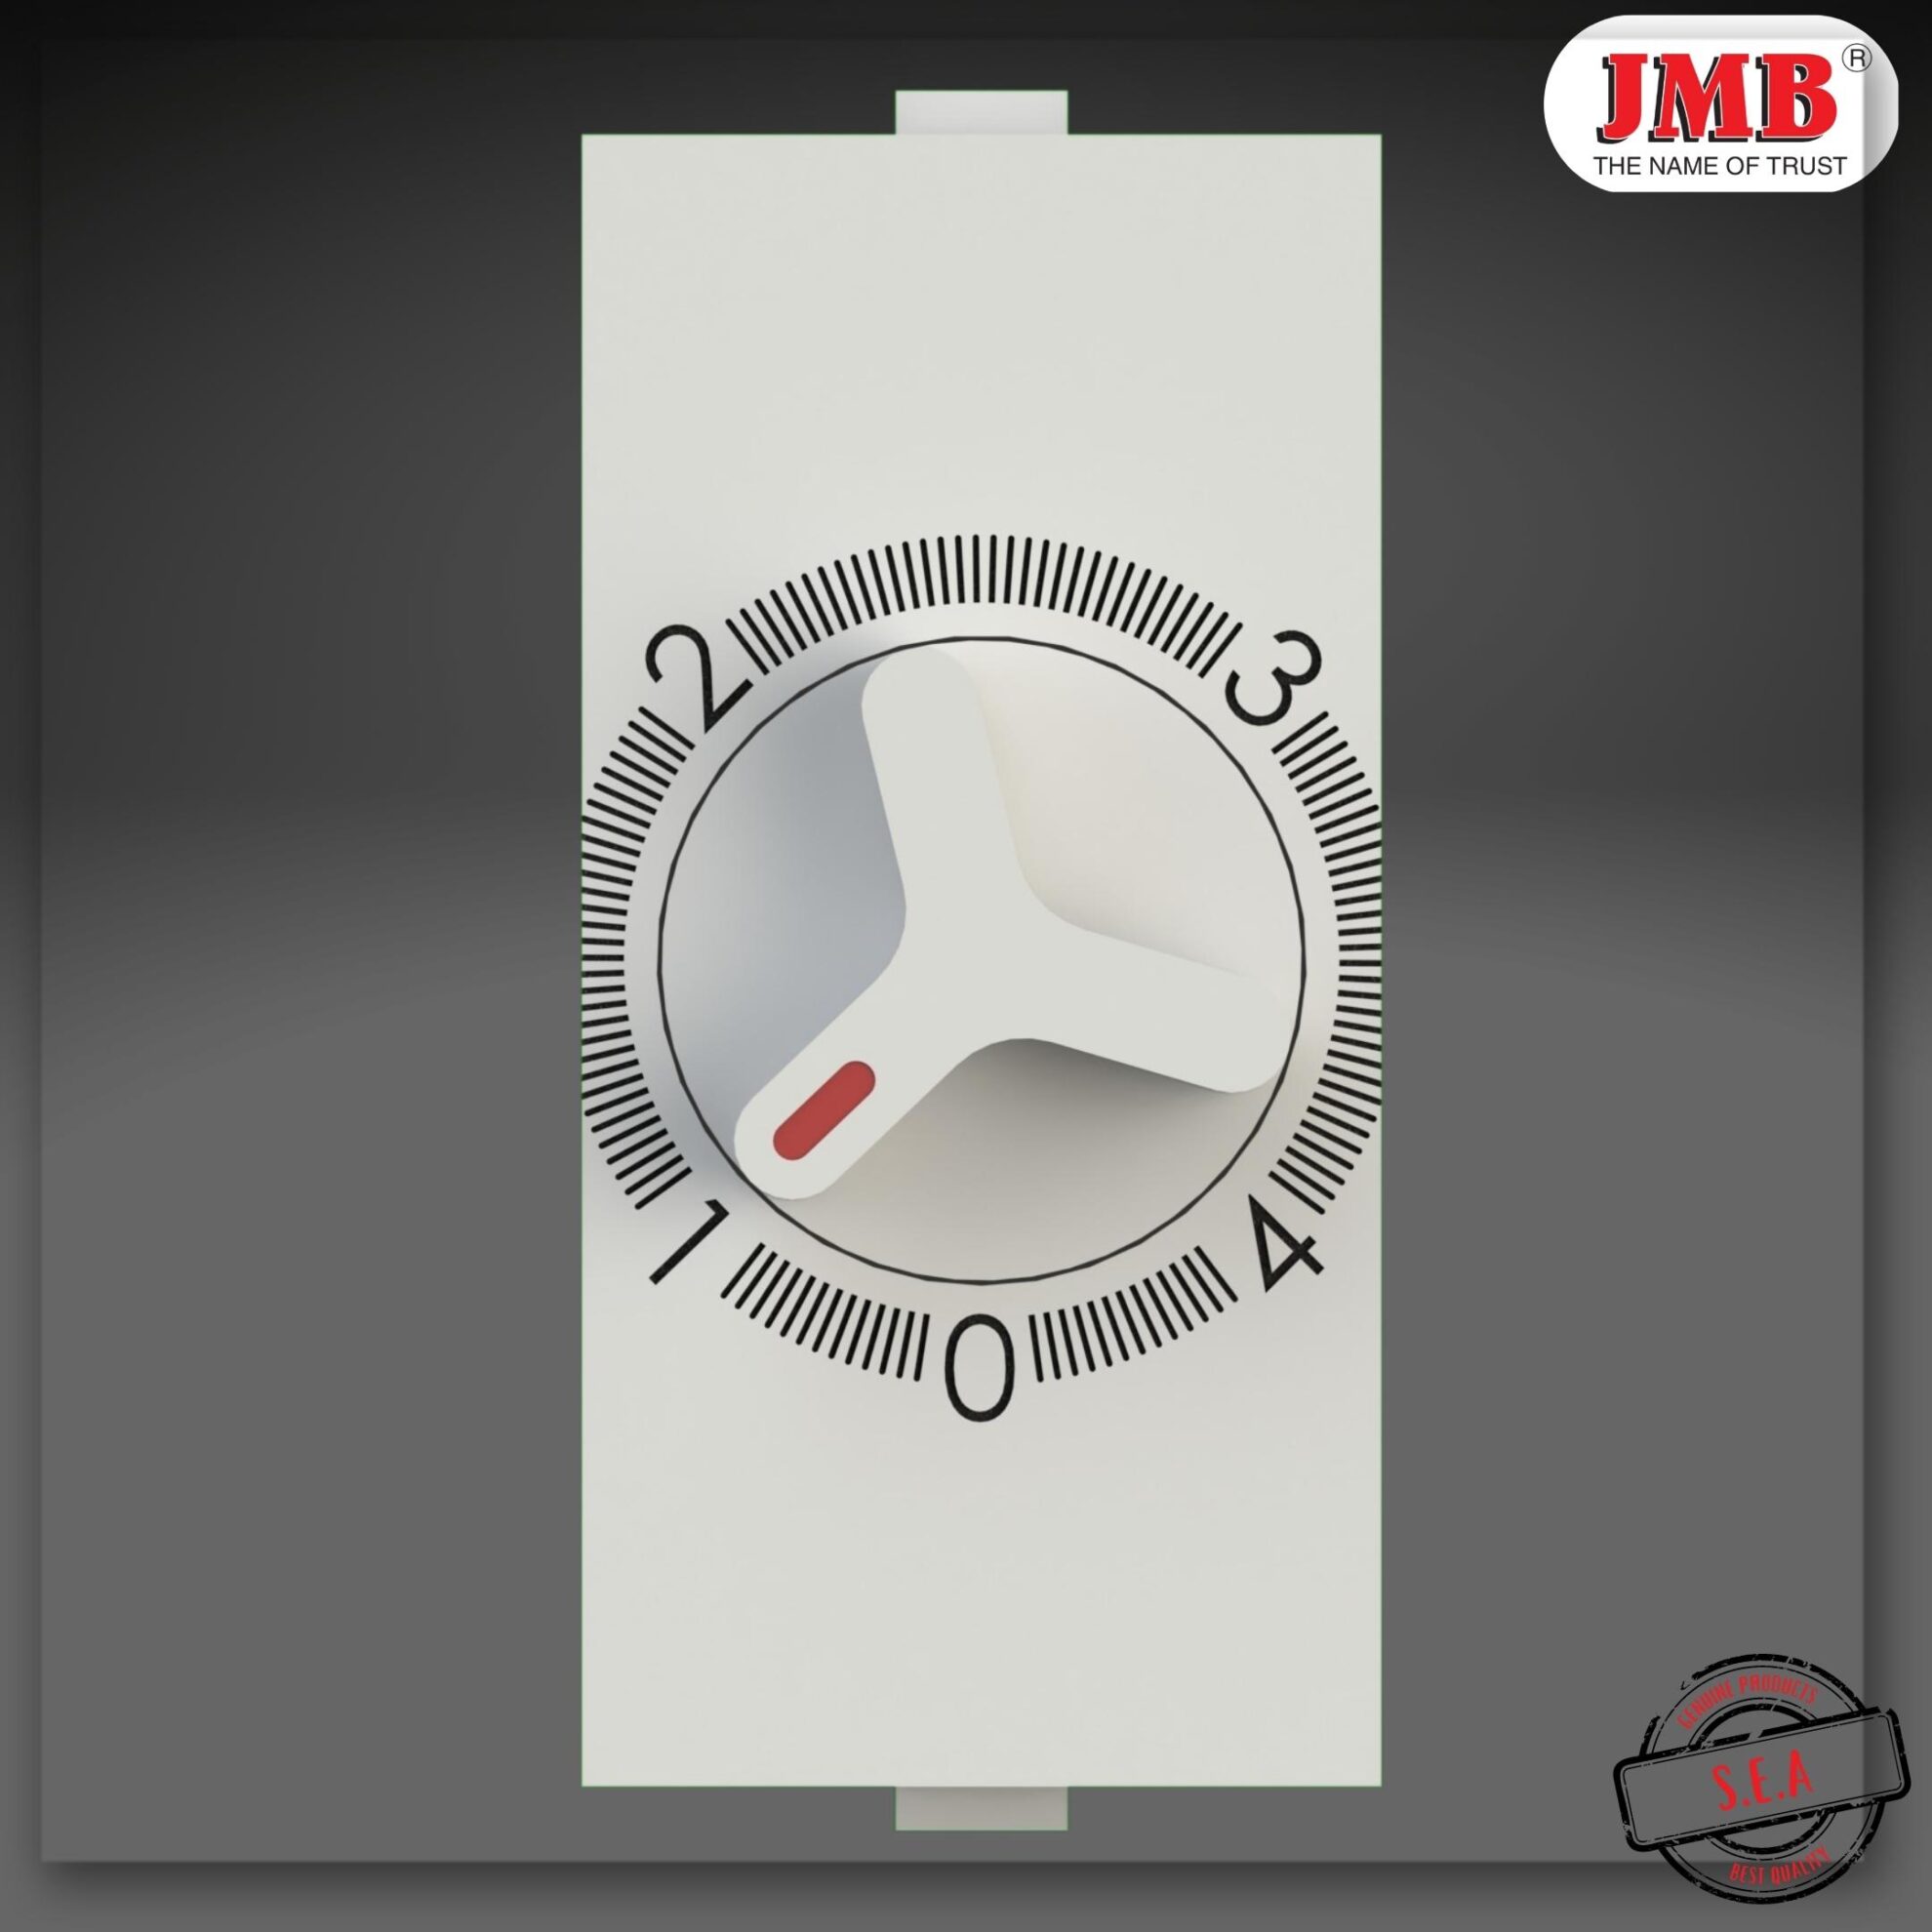
1 M STAR 4-Step Modular Fan Regulator
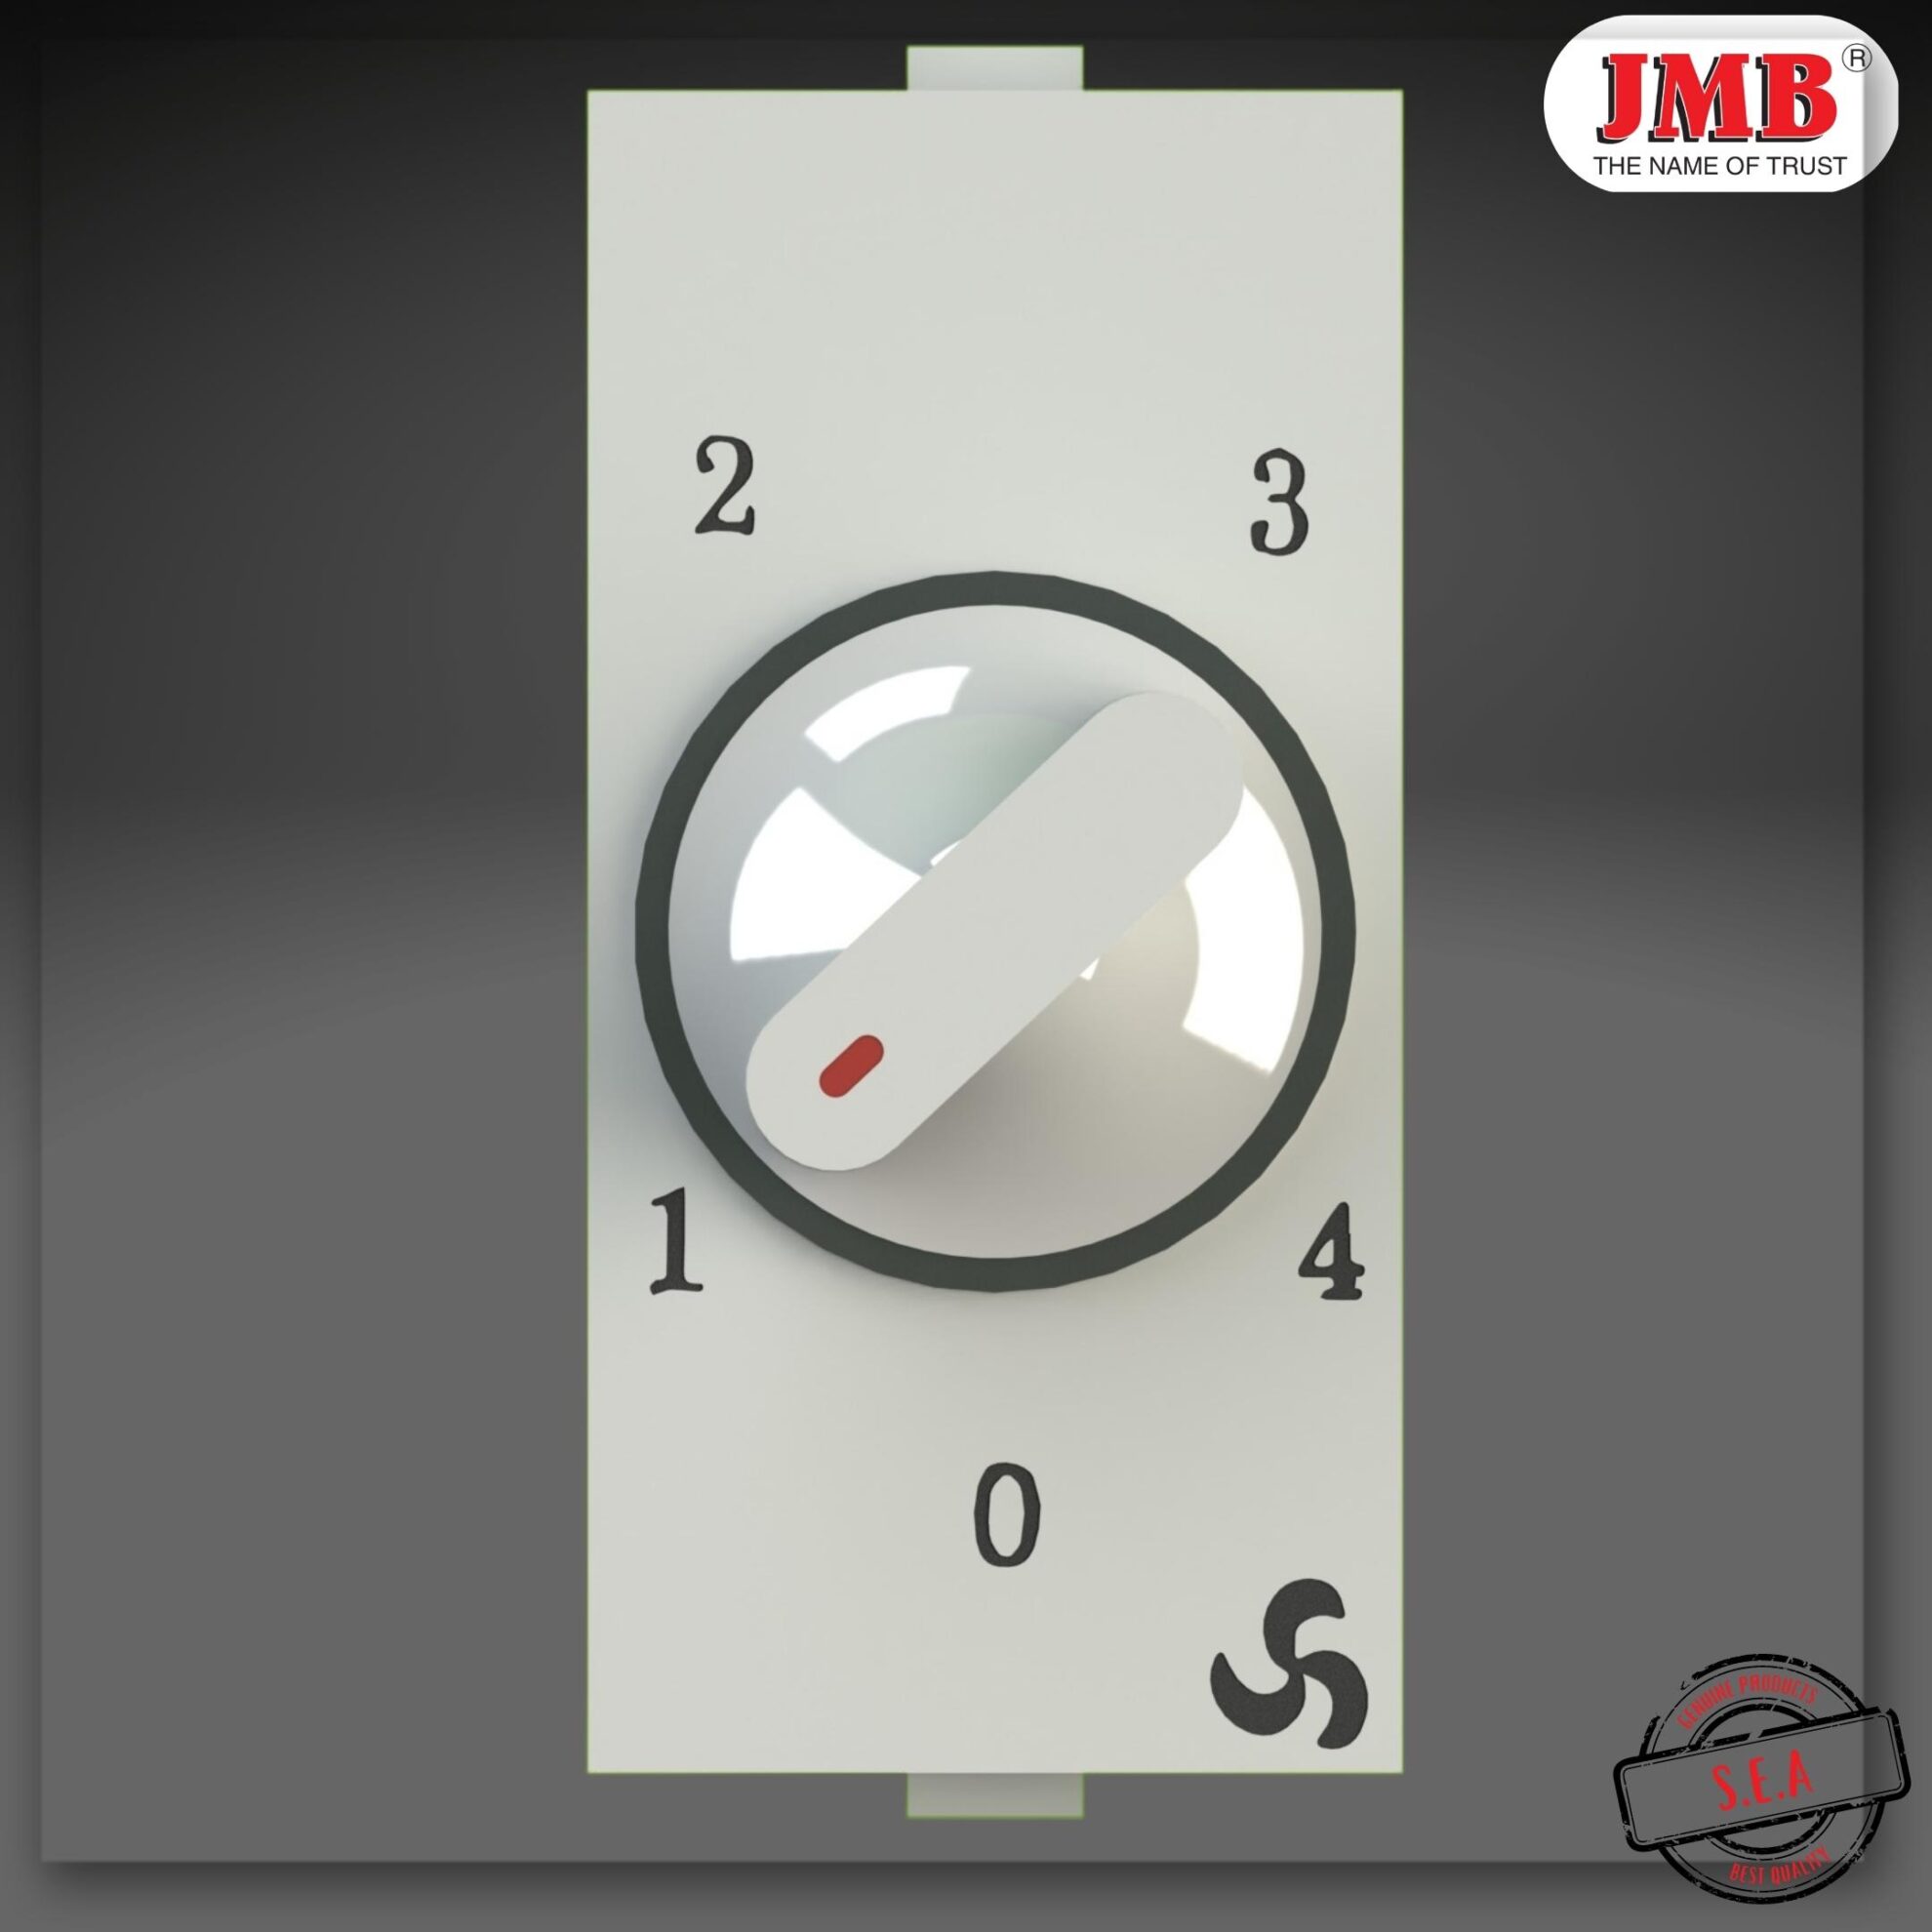
1 M CLASSIC 4-Step Modular Fan Regulator
Capacitor Problems in Step-Type Regulators
If your wiring checks out and the fan speed still does not change, the capacitor inside a switch-type 4-step capacitor regulator is the next thing to check.
Capacitor-type regulators control fan speed by modifying the voltage and phase supplied to the fan motor. Each step corresponds to a specific capacitance value. When the capacitor degrades or fails:
- The fan may only run at one speed, typically full speed.
- The fan may stop at lower speed settings but run normally at the highest.
- In some cases, the regulator makes a buzzing sound at certain positions.
A capacitor test requires a multimeter with capacitance measurement. If the measured value falls significantly below the rated value printed on the capacitor body, the capacitor needs replacement. This is usually more cost-effective than buying a new regulator.
For a broader view of what might be causing control failure, the article on troubleshooting common fan regulator issues covers both wiring-related and component-related causes in detail.
Regulator Compatibility: Does Your Regulator Match Your Fan?
Not all regulators are compatible with all ceiling fans. Using a regulator designed for a lower wattage with a higher-capacity fan motor, or using a resistance-type regulator with a BLDC motor, can result in incomplete speed control.
Key compatibility points to verify:
- Wattage rating: The regulator’s rated wattage must meet or exceed the fan motor’s wattage. Most standard ceiling fans draw between 50W and 75W. Check the fan’s rating plate.
- Motor type: BLDC (brushless DC) fans require a regulator specifically designed for them. Standard capacitor or resistance-type regulators will not give correct speed steps on a BLDC fan.
- Step configuration: A 4-step regulator will not provide 5 or 7 distinct speeds. Match the step count to what the installation requires.
The switch-type fan regulators category covers multiple wattage and step configurations if you are selecting a replacement.
Compare the Right 4 Step Fan Regulator Options
Choose the correct regulator type for your switchboard requirements. Compare flat modular, classic modular, and switch-type 4 step fan regulator options designed for residential, commercial, and rental property installations.
How to Diagnose Whether the Regulator Itself Is Faulty
Once wiring errors and capacitor issues have been ruled out, you can confirm whether the regulator unit itself has failed by doing a simple substitution test:
- Temporarily connect a known working regulator of the same type in place of the suspect unit, using the same wiring.
- If the fan responds correctly to speed adjustments, the original regulator has an internal fault and should be replaced.
- If the fan still does not respond, the fault lies outside the regulator, most likely in the fan motor, wiring, or switchboard.
This method saves time and avoids unnecessary purchases.
Choosing a Replacement: What to Look for
When a regulator does need replacing, the choice of replacement matters. Low-quality regulators sold without any certification often fail prematurely, produce heat even at idle, and offer inconsistent speed steps.
For standard ceiling fan installations, a BIS-certified modular regulator is the more reliable long-term choice. Sai Electronics India manufactures these to verified standards, and the 1-module 4-step modular regulator fits standard single-module switchboard openings and provides consistent 4-step control without the heating issues common in uncertified alternatives.
If the switchboard has more space or the installation requires a slightly different form factor, the classic 4-step modular fan regulator is another option worth considering. Both are built for easy retrofitting into existing switchboards.
You can view the full range at the Sai Electronics product store.
Electrical Safety: What You Should Know Before Working on Fan Wiring
Working on ceiling fan wiring involves live circuits. Before you inspect or adjust any connections:
- Always switch off the circuit at the main distribution board, not just at the wall switch.
- Use an insulated phase tester to confirm the circuit is dead before touching wires.
- Do not work on wiring if you are unfamiliar with basic electrical safety practices.
- In rental properties or commercial premises, electrical work must comply with applicable local regulations and should be performed by a licensed electrician.
If you are unsure about any step, do not proceed. A qualified electrician can identify and fix a fan regulator wiring connection error in a short visit, and it is far safer than working on live circuits without the right background.
Quick Reference: Fan Speed Not Changing Checklist
| Check | What to Look For |
| Line and load terminals | Verify phase enters the input terminal, fan connects to output |
| Wire tightness | Each wire fully seated and terminal screw firmly tightened |
| Neutral routing | Neutral bypasses regulator entirely |
| Capacitor condition | Use multimeter to compare measured vs. rated capacitance |
| Fan wattage vs. regulator rating | Regulator wattage must meet or exceed fan motor draw |
| Motor type compatibility | BLDC fans require BLDC-compatible regulators |
| Substitution test | Swap with a working unit to confirm regulator fault |
When to Contact a Specialist
If you have worked through every check above and the fan speed is still fixed at one level, the fault may be deeper inside the fan motor winding or the switchboard wiring rather than the regulator itself. At that point, bring in a qualified electrician who can trace the complete circuit with proper test equipment.
For technical questions about regulator selection, wiring configurations, or bulk supply for commercial projects, you can contact Sai Electronics for technical support.
How to Diagnose Whether the Regulator Itself Is Faulty
Once wiring errors and capacitor issues have been ruled out, you can confirm whether the regulator unit itself has failed by doing a simple substitution test:
- Temporarily connect a known working regulator of the same type in place of the suspect unit, using the same wiring.
- If the fan responds correctly to speed adjustments, the original regulator has an internal fault and should be replaced.
- If the fan still does not respond, the fault lies outside the regulator, most likely in the fan motor, wiring, or switchboard.
This method saves time and avoids unnecessary purchases.
Choosing a Replacement: What to Look for
When a regulator does need replacing, the choice of replacement matters. Low-quality regulators sold without any certification often fail prematurely, produce heat even at idle, and offer inconsistent speed steps.
For standard ceiling fan installations, a BIS-certified modular regulator is the more reliable long-term choice. Sai Electronics India manufactures these to verified standards, and the 1-module 4-step modular regulator fits standard single-module switchboard openings and provides consistent 4-step control without the heating issues common in uncertified alternatives.
If the switchboard has more space or the installation requires a slightly different form factor, the classic 4-step modular fan regulator is another option worth considering. Both are built for easy retrofitting into existing switchboards.
You can view the full range at the Sai Electronics product store.
Electrical Safety: What You Should Know Before Working on Fan Wiring
Working on ceiling fan wiring involves live circuits. Before you inspect or adjust any connections:
- Always switch off the circuit at the main distribution board, not just at the wall switch.
- Use an insulated phase tester to confirm the circuit is dead before touching wires.
- Do not work on wiring if you are unfamiliar with basic electrical safety practices.
- In rental properties or commercial premises, electrical work must comply with applicable local regulations and should be performed by a licensed electrician.
If you are unsure about any step, do not proceed. A qualified electrician can identify and fix a fan regulator wiring connection error in a short visit, and it is far safer than working on live circuits without the right background.
Quick Reference: Fan Speed Not Changing Checklist
| Check | What to Look For |
| Line and load terminals | Verify phase enters the input terminal, fan connects to output |
| Wire tightness | Each wire fully seated and terminal screw firmly tightened |
| Neutral routing | Neutral bypasses regulator entirely |
| Capacitor condition | Use multimeter to compare measured vs. rated capacitance |
| Fan wattage vs. regulator rating | Regulator wattage must meet or exceed fan motor draw |
| Motor type compatibility | BLDC fans require BLDC-compatible regulators |
| Substitution test | Swap with a working unit to confirm regulator fault |
When to Contact a Specialist
If you have worked through every check above and the fan speed is still fixed at one level, the fault may be deeper inside the fan motor winding or the switchboard wiring rather than the regulator itself. At that point, bring in a qualified electrician who can trace the complete circuit with proper test equipment.
For technical questions about regulator selection, wiring configurations, or bulk supply for commercial projects, you can contact Sai Electronics for technical support.
Frequently Asked Questions
Q1. Why is my ceiling fan running at full speed even when the regulator is at step 1?
This usually happens when the line (mains live) and load (fan output) wires are swapped during installation. When reversed, power bypasses the regulator’s internal control circuit, causing the fan to receive full voltage constantly regardless of the knob position.
Q2. Can a loose terminal connection stop a fan regulator from changing speed?
Yes. Loose wires inside the terminal block create high electrical resistance or incomplete contact. This can cause erratic speed control, buzzing noises, or prevent the regulator from stepping down the voltage properly, leaving the fan stuck at one speed.
Q3. How do I test if my fan regulator capacitor is faulty using a multimeter?
Turn off the main power supply, disconnect the regulator, and use a multimeter set to capacitance mode ($\mu\text{F}$). Measure across the capacitor terminals. If the reading is significantly lower than the rated value printed on the capacitor (or shows open circuit), the capacitor has degraded and needs replacement.
Q4. Can I use a standard modular fan regulator with a BLDC ceiling fan?
No. BLDC (Brushless DC) fans use an internal electronic drive circuit that requires clean, unmodulated AC power. Connecting a traditional capacitor or resistive regulator to a BLDC fan can cause humming noises, incomplete speed control, or permanent damage to the fan’s drive board.
Q5. Is the neutral wire connected to the fan regulator?
No. Fan regulators only control the live (phase) wire. The neutral wire from the power supply goes directly to the ceiling fan motor terminal. Connecting a neutral wire to a regulator terminal will cause a short circuit or prevent the speed control circuit from functioning.
Wrapping Up
A fan speed that refuses to change is almost always the result of a wiring fault, a degraded capacitor, or a compatibility mismatch between the regulator and the fan. None of these require an immediate product replacement. Start with the basics: check your terminal connections, verify line versus load orientation, and test the capacitor before drawing conclusions.
If a replacement does turn out to be necessary, choosing a BIS-certified capacitor-type regulator from a verified manufacturer means fewer faults over the product’s lifespan and consistent speed control across all steps. The star capacitor fan regulator is a practical option for homes and light commercial use where reliable speed control matters.
Fix the wiring first. Replace only when necessary. And always put safety ahead of convenience when working with electrical circuits.
Not Sure Which Fan Regulator Fixes Your Wiring Issue?
Whether you need a replacement modular unit, a capacitor-type regulator, or bulk supply for a commercial project, our team can help you select the right model based on your switchboard type, fan wattage, and installation requirements.